A DIY recipe to help you make a jar of naturally healthy supplements.
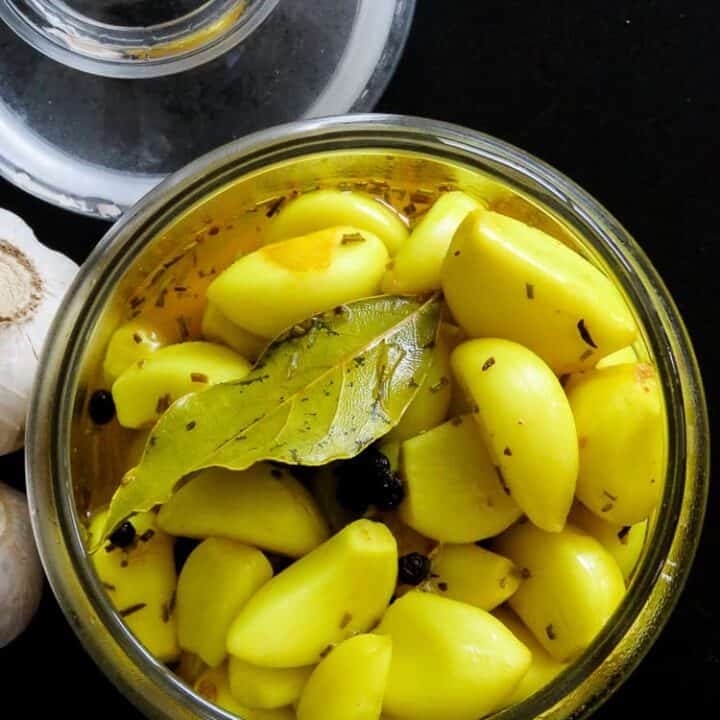
Pickled Garlic, mildly sweet and less pungent. Diy recipe, vegan, vegetarian, gluten-free, low- carb, low-fat
It’s been a while since I posted a recipe, just as I was managing to stick to my new year blogging goals, I’ve had to set them aside for, well every other reason every out there has.
The reasons for my lofty goals were because I had funny man finally at home and ten months of having him around to help me with home and kids, scratch that having another person to lean on to was a huge relief and gave me extra time to work on the blog.
Unfortunately, having him around, taking over the simplest chores to handling dramas with the terrible four ended a few weeks ago and here I am flying solo again.
Getting back to the routine of doing stuff on my own is tough, the only consolation about this is that with funny man working away from home means I get to travel to a different part of the world.
I get to experience food, art, culture and most importantly the people.
Now that we’ve cleared away my reasons for not blogging for the past month, I’m getting back into the groove of things with a simple DIY recipe.
This pickled garlic that can be a great way of having a daily dose of the clove without the pungent odor of garlic breath.
With so much medicinal properties, Garlic is one of the best raw foods you can consume and be sure of its health benefits to your body. but raw garlic can be unpleasant as they have a strong after taste and pungent smell that lingers, for this reason, many might find it difficult to eat even when cooked but they are undeniably the best way to flavor a dish.
What flavors go well with Garlic?
With its sharp, warm taste, Garlic is a great flavor enhancer to meats, poultry and fish and any type of vegetarian dish
How to use your homemade pickled Garlic.
Once the Garlic is pickled, they lose the strong taste that makes them difficult to eat in their raw form but when they are pickled this way, they become slightly sweet and subtle in flavour, I couldn’t stop myself from popping a few now and then, I find them addictive.
It’s also a great way of preserving the extra Garlic cloves without them spoiling and it’s so easy(except for the peeling of course)
Here are a few ways to use them.
1/ Slice and toss them in your salads
2/ Add a bowl of these Garlic pickles to your party cheese platter.
3/ Mix of these pickled garlic pods with your favorite minced meat sauce and make some sloppy joes.
4/ For those lazy days when you don’t feel like peeling a few Garlic just substitute the raw ones with a few of these pickled ones.
5/ Add them to your roasted Potatoes.
SAVE THE RECIPE TO YOUR FAVORITE PINTEREST BOARD!
How to make Pickled Garlic(DIY recipe).
Please make sure to read the recipe instructions carefully to avoid mistakes.
Ingredients
Ingredients mentioned below use standard measuring cups and spoons.
Keep a glass airtight container ready, the jar should be sterilized and dry.
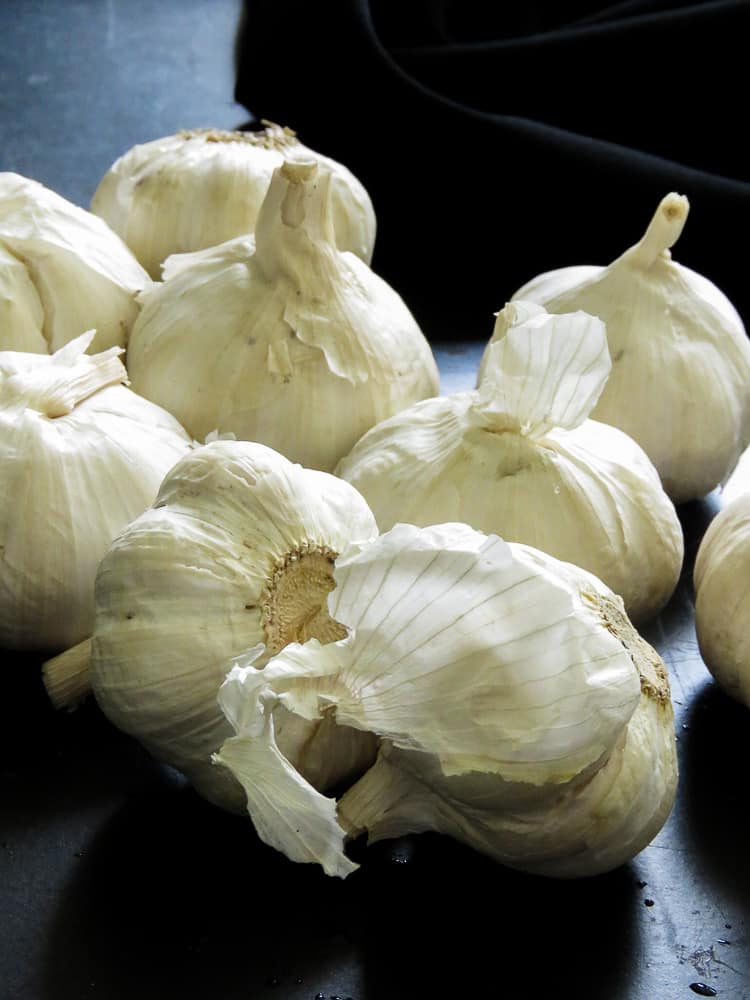
250g Garlic peeled
2 cups white vinegar( use any type of vinegar you have in hand)
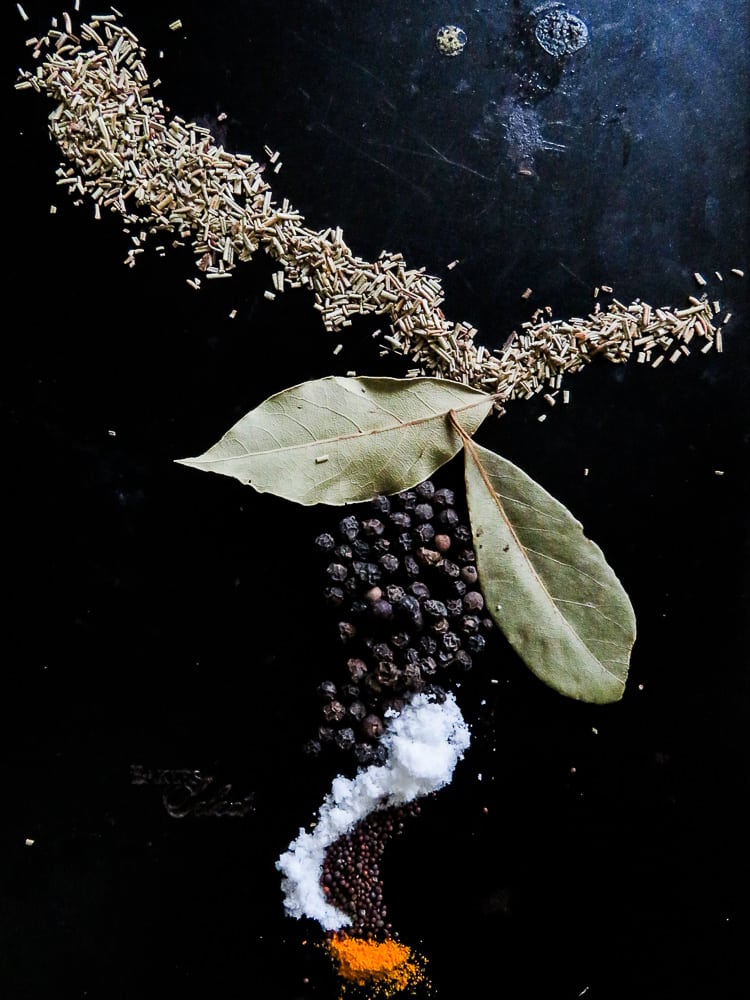
3-5 Bay leaves
2 teaspoons of dried thyme
1 and 1/2 teaspoons of whole Black Peppercorns
2/3 cup of white Sugar( reduce if you prefer the brine and pickles to be less sweet)
1/2 teaspoon salt
1/2 teaspoon Turmeric
Method
Peel, wash and drain the Garlic.
Place a pan on medium heat, pour in the Vinegar and white sugar, leave it to simmer for 1 minute.
Add the Bay leaves, dried thyme, salt and finally Turmeric, increase heat and boil for 4-5 minutes.
Include the Garlic and Peppercorns while boiling it for another 5 minutes.
Remove from the stove and leave it to cool.
Once cooled, pour the liquid and garlic in the sterile, dry container, Seal and store in the refrigerator for a few weeks but I actually used them after 24 hours.
Join me on islandsmile you tube channel.
Made this recipe? great!
If you are a regular on the blog and would love to help me grow, here’s how you do it.
*When you make the recipe, please do leave a review and a rating on the recipe card.
*subscribe if possible.
*Catch my mistakes and send me a scolding to correct them.
*Spread the word, share links to my recipes with your friends and family. every little thing you do helps me grow the site.

How to make pickled Garlic (DIY recipe)
Pickled Garlic, mildly sweet and less pungent. Diy recipe, vegan, vegetarian, gluten-free, low- carb, low-fat
Ingredients
- Keep a glass airtight container ready, the jar should be sterilized and dry.
- 250g Garlic peeled
- 2 cups white vinegar( use any type of vinegar you have in hand)
- 3-5 Bay leaves
- 2 teaspoons of dried thyme
- 1 and 1/2 teaspoons of whole Black Peppercorns
- 2/3 cup of white sugar( reduce if you prefer the brine and pickles to be less sweet)
- 1/2 teaspoon salt
- 1/2 teaspoon Turmeric
Instructions
Peel, wash and drain the Garlic.
Place a pan on medium heat, pour in the Vinegar and white sugar, leave it to simmer for 1 minute.
Add the Bay leaves, dried thyme, salt and finally Turmeric, increase heat and boil for 4-5 minutes.
Include the Garlic and Peppercorns while boiling it for another 5 minutes.
Remove from the stove and leave it to cool.
Once cooled, pour the liquid and garlic in the sterile, dry container, Seal and store in the refrigerator for a few weeks but I actually used them after 24 hours.
Each recipe on this blog has been written with great care and love to the best of my ability with you in mind.
It’s free and on the blog, for you to try anytime.
All I ask is that you do not save it on any apps, recipe boxes or online groups which will affect me as a food blogger and the growth of this blog.
I would appreciate it if you only share the link rather than the full recipe.
All images and text on this website are protected by copyright.


