Quick naan recipe without yeast and full of garlic flavour.
Naan bread needs no introduction and this easy garlic naan recipe made without yeast is going to be your favourite go-to Indian bread to make for your curries.
Why you should make these no yeast garlic naans.
- You will need just 3 hours to make them and 2 hours of it is mostly to let the naan dough proof.
- This easy naan bread is made without yeast, so if you have a sensitive stomach that reacts to yeasty bread then try this recipe.
- learning to make naan at home over a tawa gives you more quick dinner and meal ideas to work with.
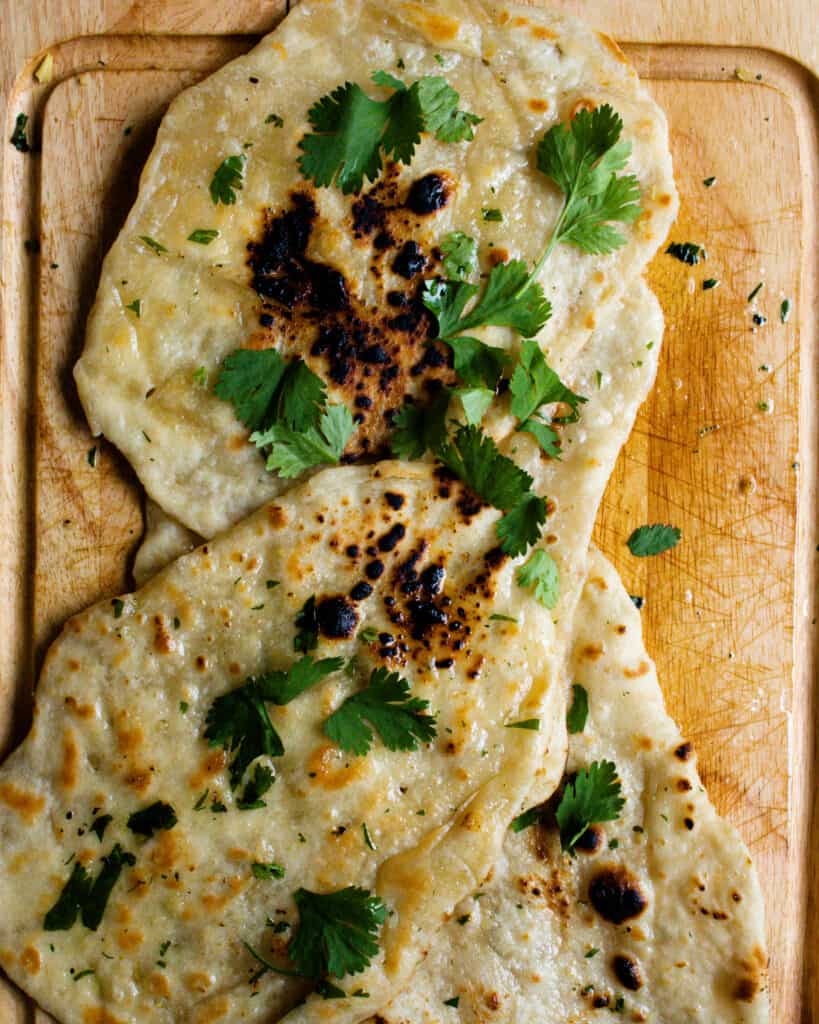
Ideas to serve with no yeast garlic naan bread
- Curries to serve the quick garlic naan bread.
- Serve with a vegetable soup or a stew.
- Serve the naan as a wrap with some grilled beef, chicken or paneer. you can also make some vegetarian wraps with the naan.
Tips to make the best garlic naan without yeast.
- Check the expiry dates of the ingredients.
- Let the dough rest as per the recommended time. relaxing the gluten allows the baking powder and soda to work and helps with the texture.
- A hot tawa(skillet)is needed for cooking the quick naan.
- Once the naan is made, cover and keep it wrapped in a clean kitchen towel or place it in the oven at the lowest temperature.
Save the recipe to Pinterest
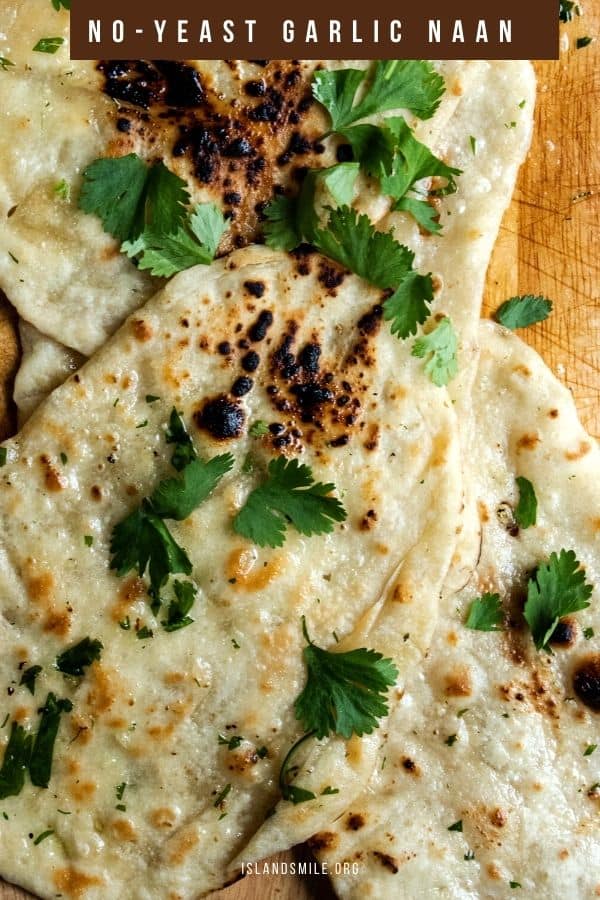
Utensils and appliances needed.
- Large bowl.
- Cling film
- Large open working space
- Tawa pan or a large flat frying pan.
more flatbreads you can try
Sri Lankan tuna filling stuffed coconut roti(pol roti).
SRI LANKAN PARATHA(godamba)ROTI
POL ROTI(Sri Lankan coconut roti)
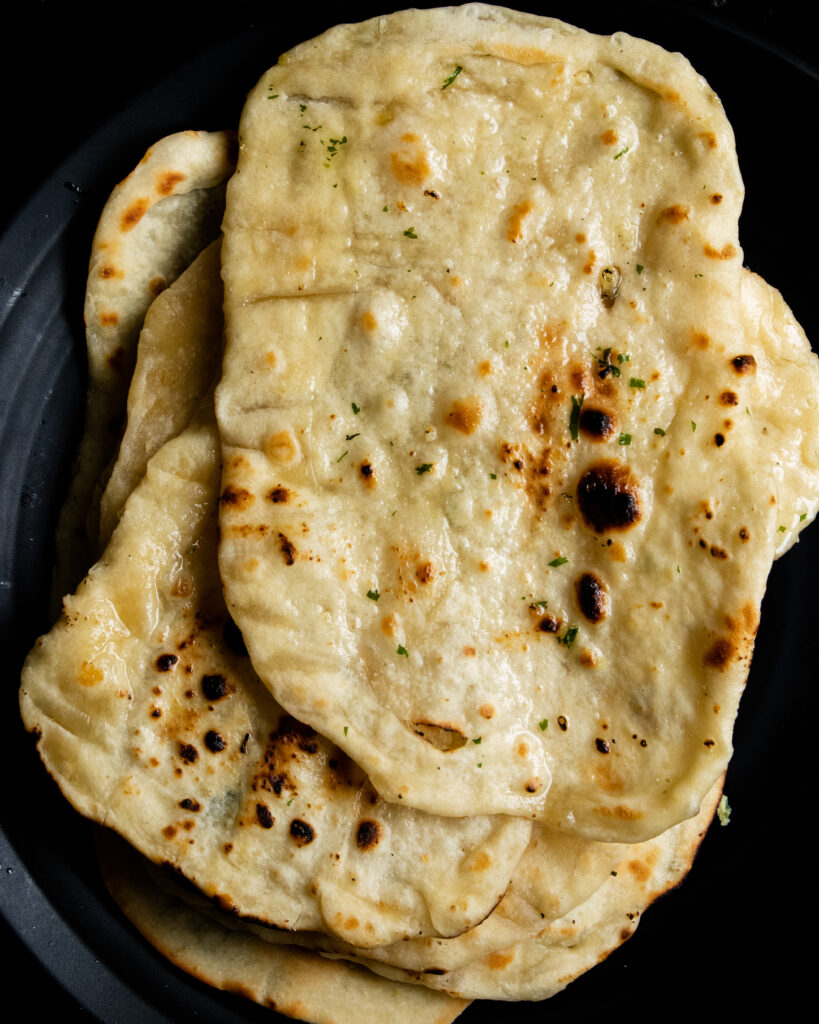
Storing
Store them in zip-lock bags or wrapped in foil. refrigerate if you are using it within 24 hours.
Freezing
If you are using it within a week then freeze once you’ve wrapped it well. avoid keeping the naan for more than a week.
Reheating
Remove from the freezer an hour before serving, and let it reach room temperature heat over a stovetop or steam. there might be a taste and texture change.
Stop food waste by
Cut into smaller pieces, bake them for a little while and make chips for your dips.
recipe difficulty- little care needed
ingredients to make no yeast garlic naan
Ingredients mentioned below use standard measuring cups and spoons.
For the naan bread
2 cups of flour
1 teaspoon baking powder
1/4 teaspoon baking soda
1/4 teaspoon salt
1/4 plain yoghurt
1 tablespoon of finely minced ginger
2 tablespoons of oil
Water as needed
For the garlic butter
4 tablespoons of butter
1 teaspoon of minced garlic
1/4 cup of coriander chopped fine
How to make no-yeast garlic naan
Make the garlic butter first.
This will allow the minced garlic to infuse the butter oil.
Place butter(4 tbsp)in a microwavable bowl and heat for 10-20 seconds until melted.
Add the minced garlic(1 tbsp), and coriander(1/4 cup) and stir.
Cover and set aside.
How to make the quick naan dough
Sift flour, baking powder(1 tsp), baking soda(1/4 tsp)and salt(1/4 tsp) into a large bowl.
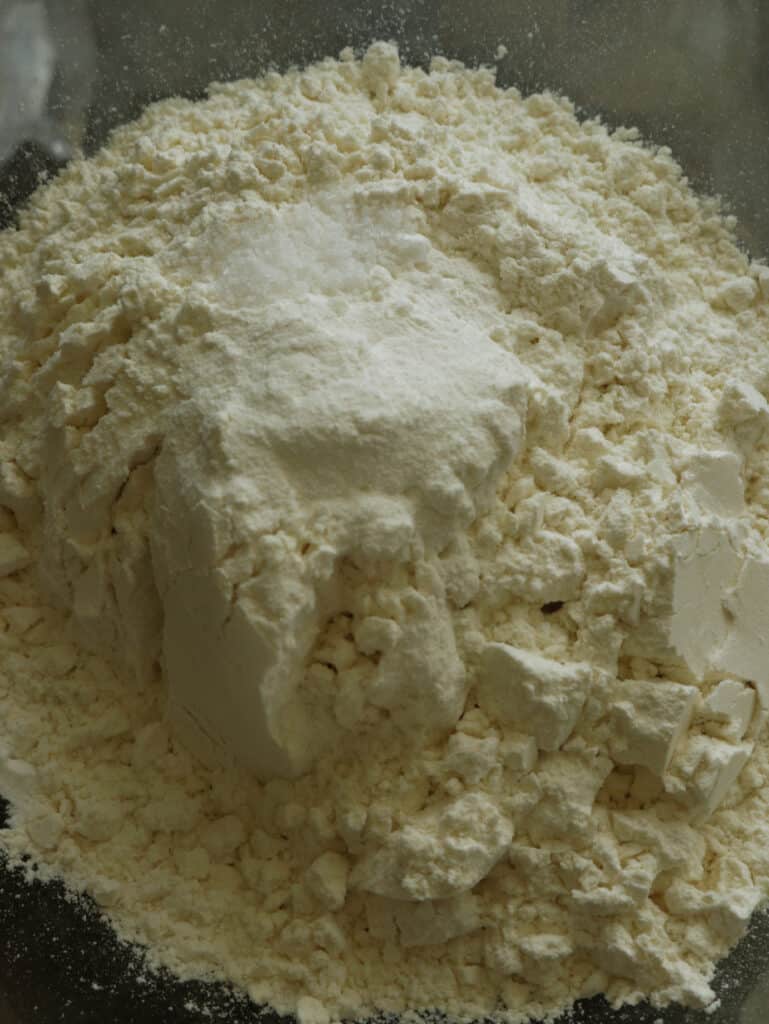
Add yoghurt (1/4 cup), oil(2 tablespoons) and minced ginger(1 tablespoon) to the flour mix.
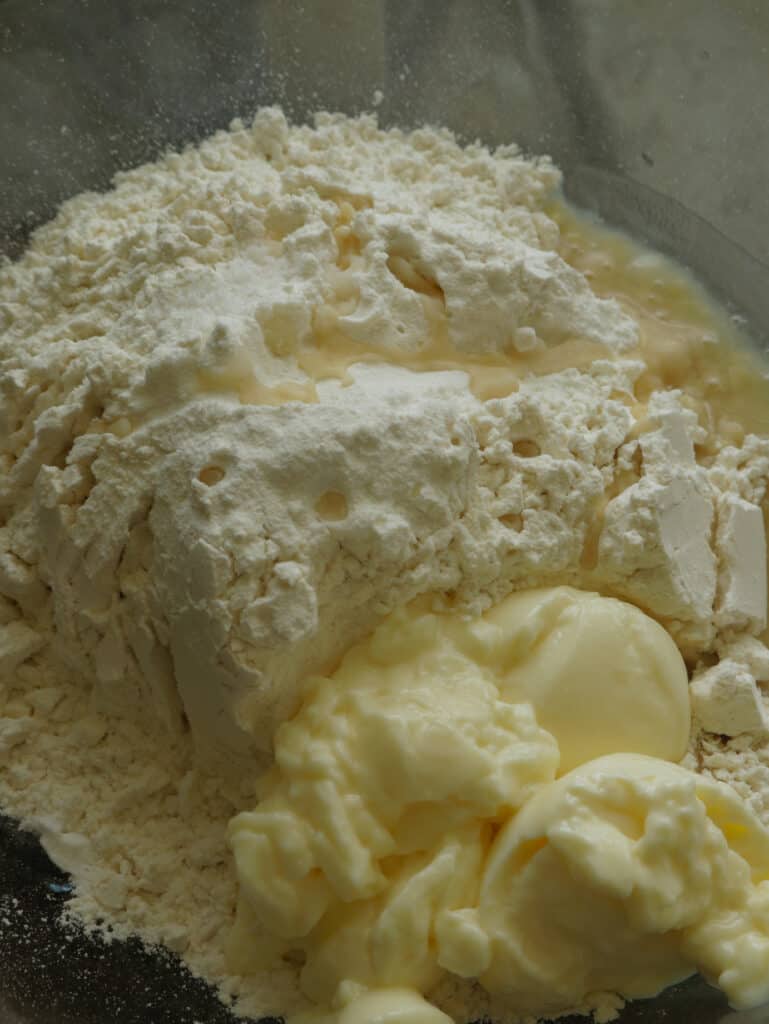
Gently start mixing the dough.
Add water as needed(in 1/4 cups, you might have to add 2-3 cups)to reach the correct consistency to form a soft dough.
When you’ve formed a roughly smooth dough, pour a tablespoon of oil.
Transfer to an oiled bowl.
Cover with a damp cloth and keep the garlic naan dough in a warm place. an area where the sun hits or a warm oven would do as well.
Let the naan dough rest for 2 hours.
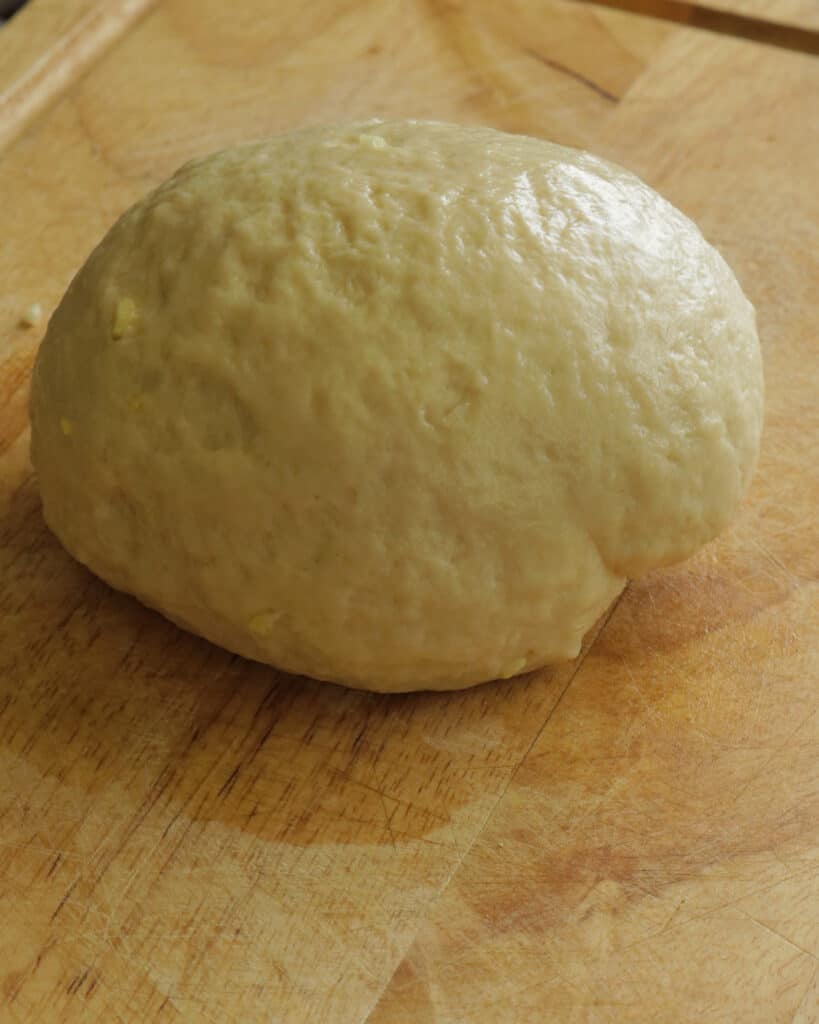
After 2 hours, you will notice a slight rise in the dough which indicates that it is ready.
Place the dough on a flat surface and separate it into required portions, I divided the garlic naan dough into 9.
Then gently roll them out into smaller balls. use a light hand to roll out the balls.
Mine has a few pieces of coriander in it and I used the same chopping board to cut the coriander.
Let dough balls rest for 10 minutes.
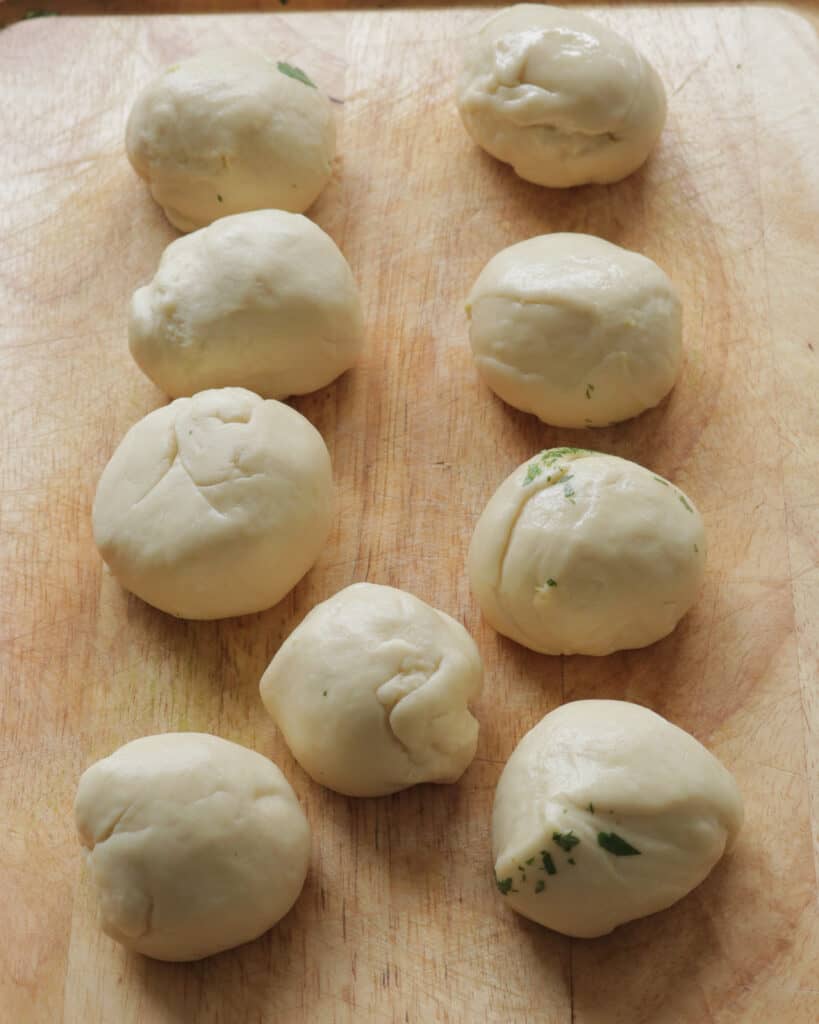
How to stretch and make the quick garlic naan.
Place a dough ball on a flat surface.
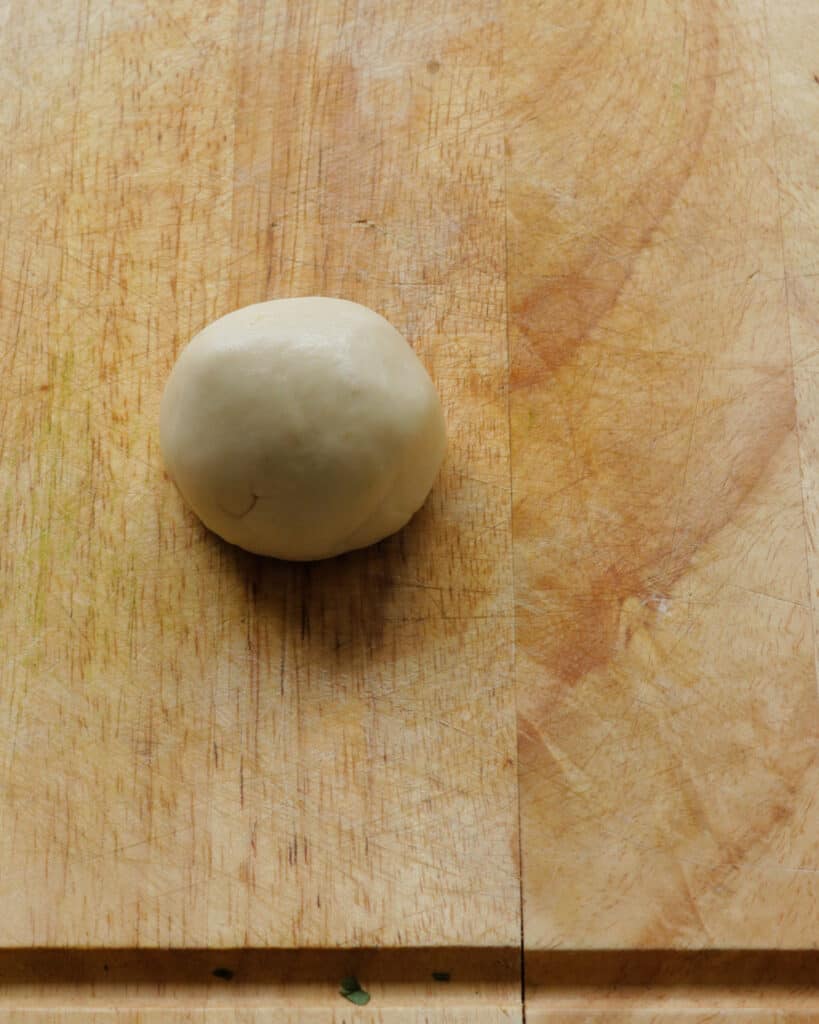
Press down with your palm.
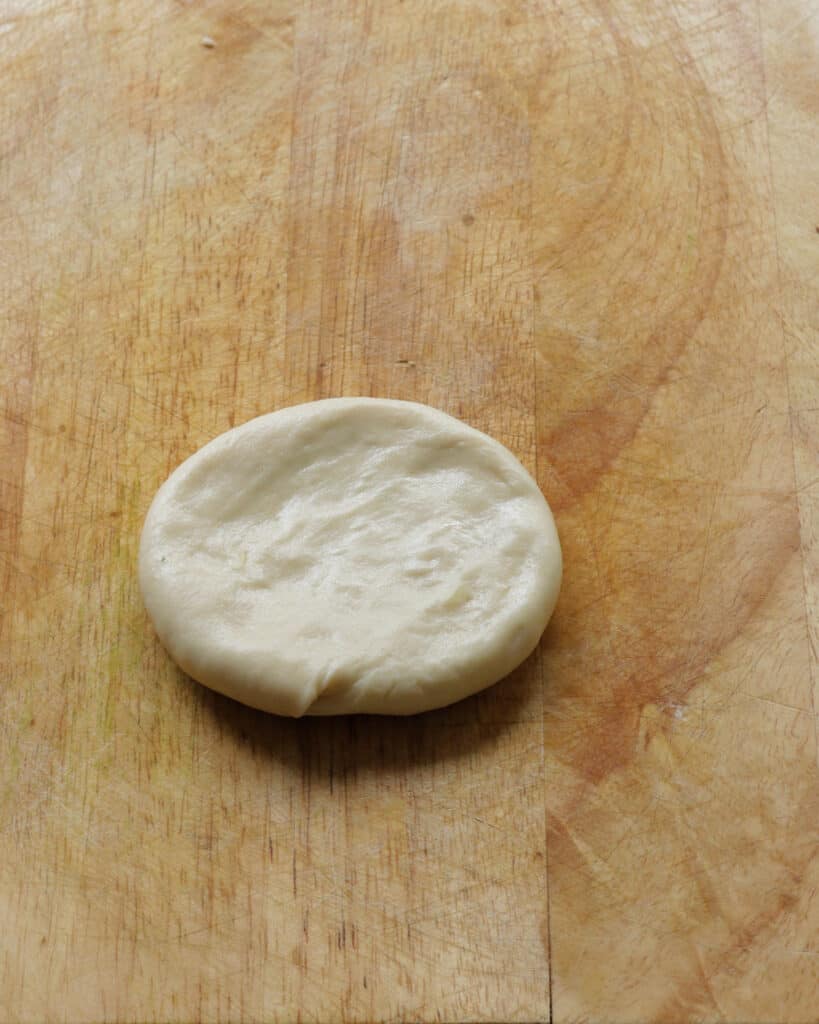
Use your fingers to press down and flatten the dough into a rough oval shape.
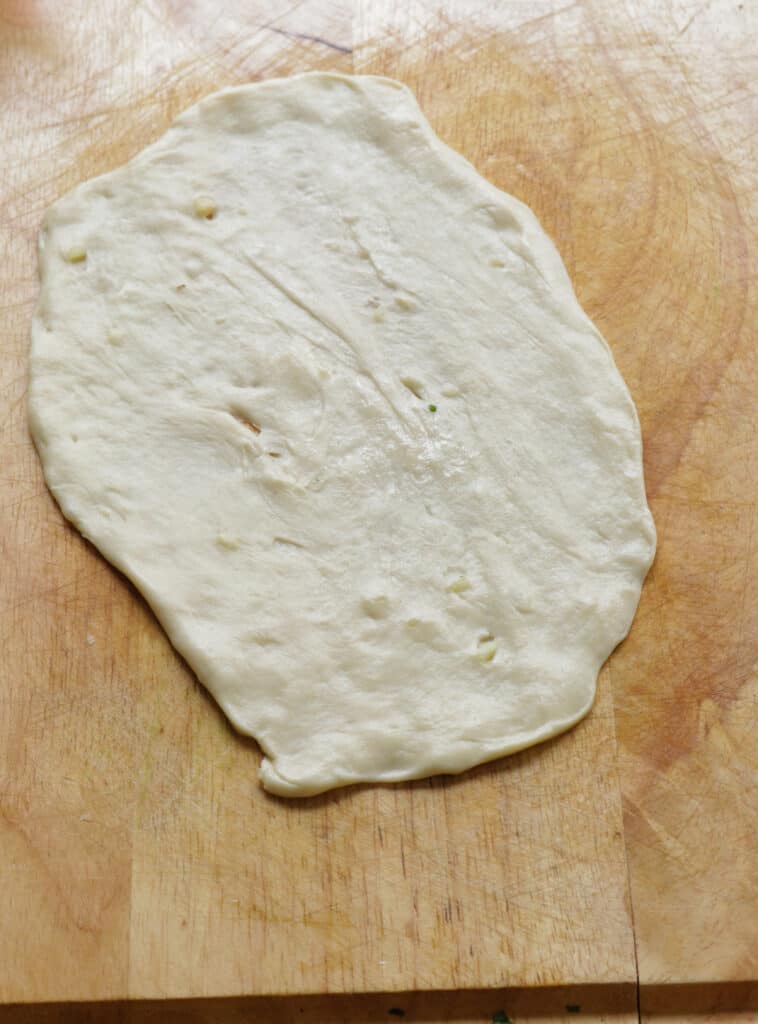
Dab a little oil and stretch the dough a little more from the edges.
Once you have your first garlic naan ready, Place your Tawa or flat frying pan over low medium fire and let it heat.
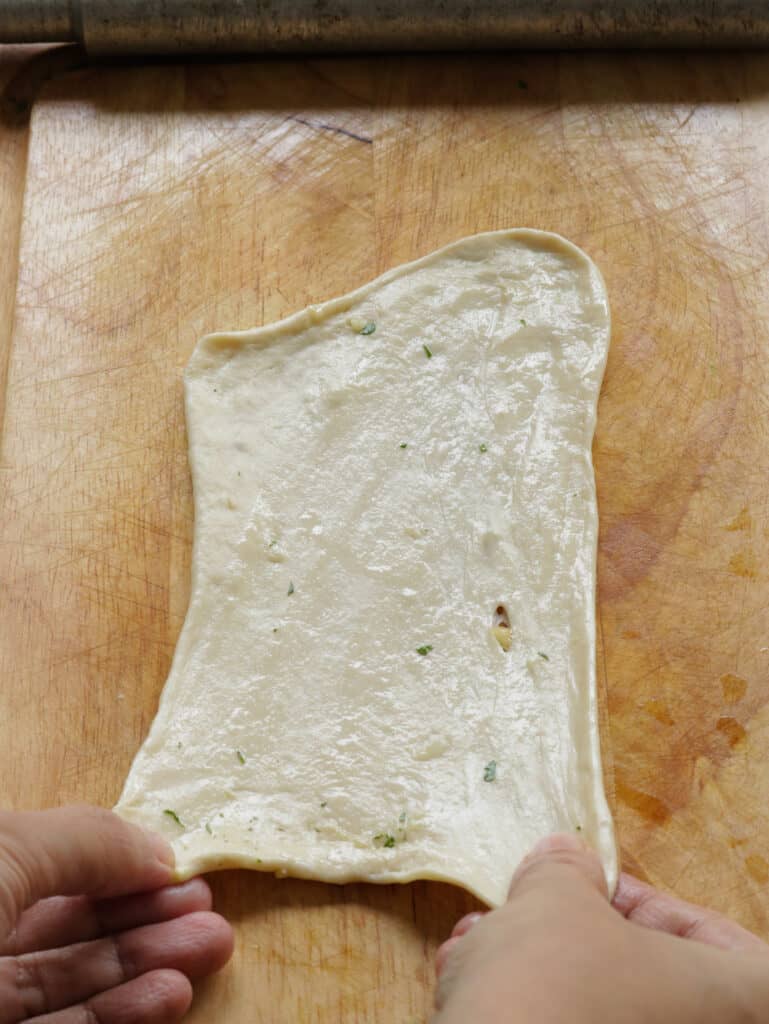
Brush a little oil on the naan.
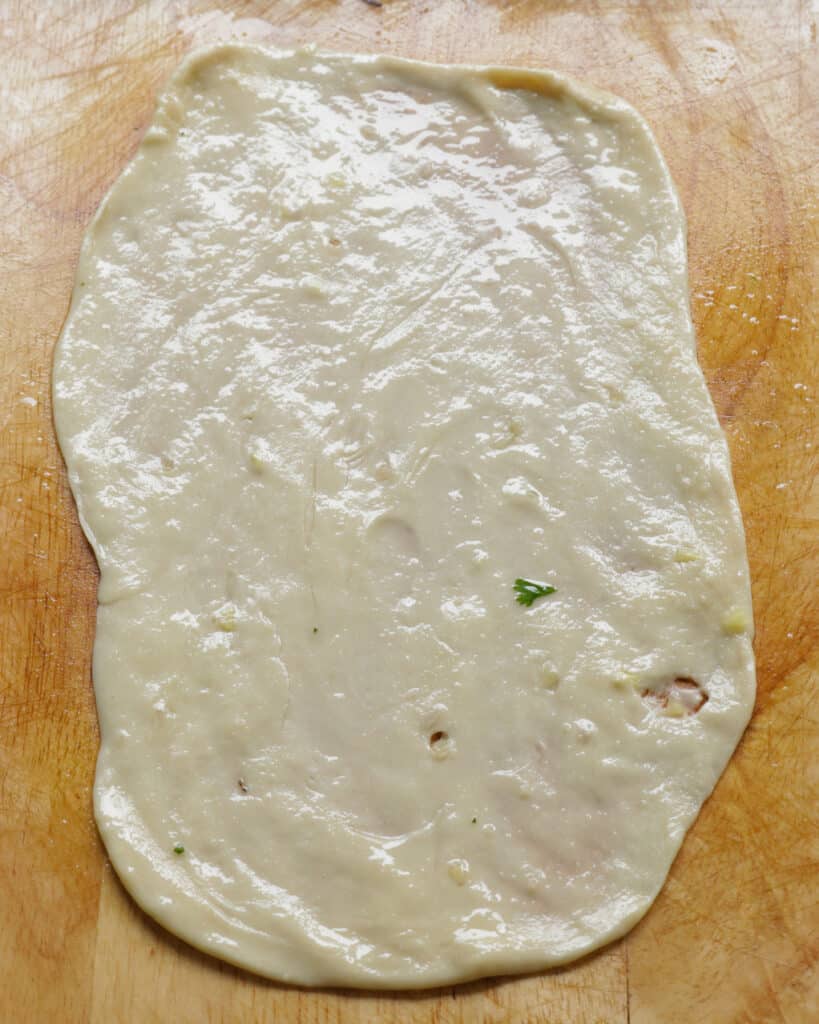
And immediately transfer onto the heated Tawa.
Cook until small bubbles appear followed by some crispy brown patches on the garlic naan.
This would take about 3-4 minutes on each side, once there is a little browning flip the naan over.
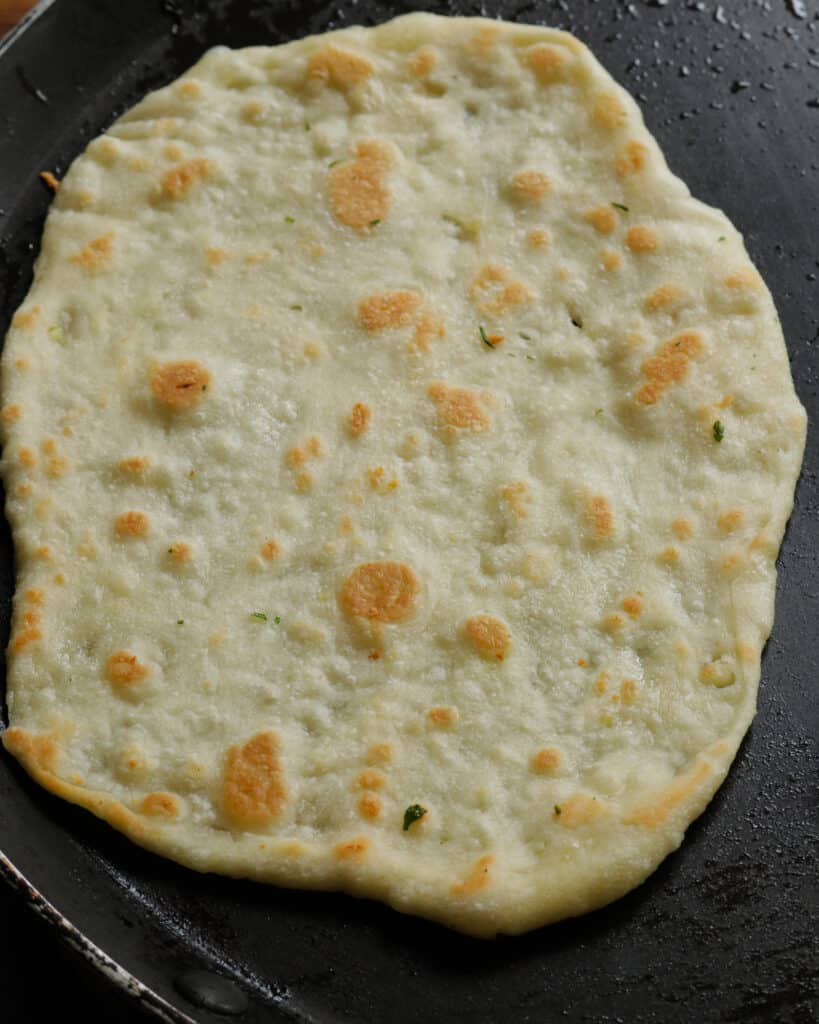
Cook both sides and brush oil on the naan when needed.
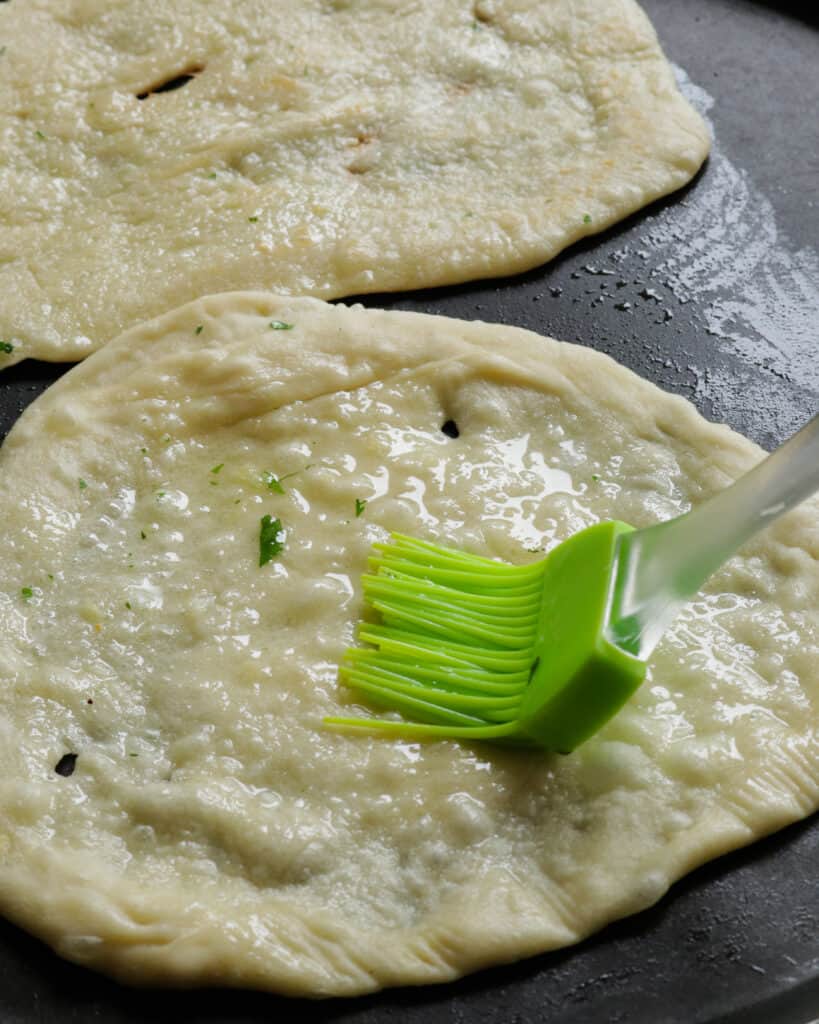
As the naan cooks over the Tawa, use your spatula to press down or even fold them to keep them soft and pliable.
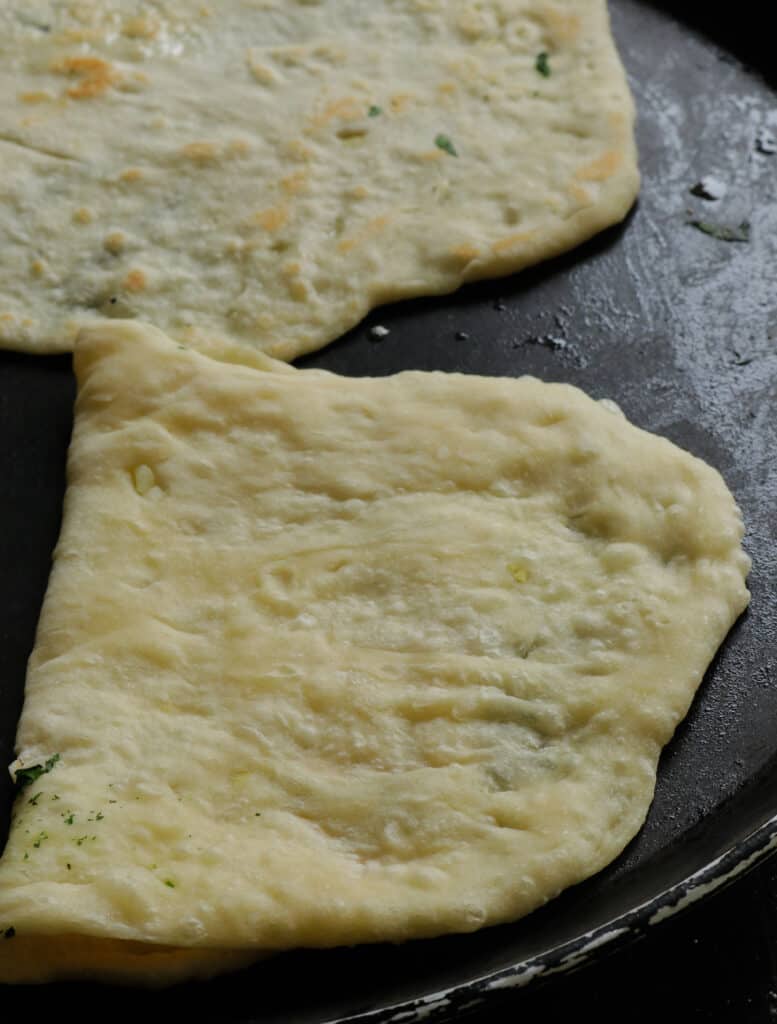
Repeat the process until you’ve cooked and made all the garlic naans.
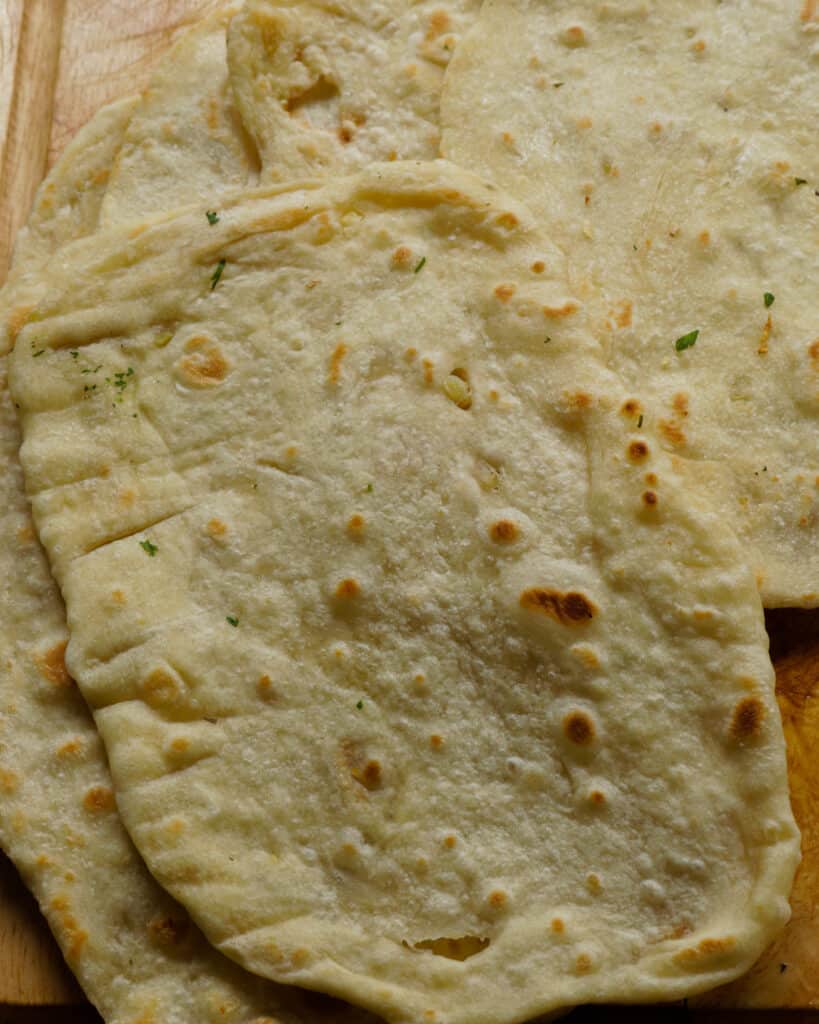
Brushing garlic butter and charring the quick naans.
The final process of making the no-yeast garlic naan is adding a little authentic flavour and look by slightly charring it over an open flame.
Simply brush the garlic-coriander butter on the cooked naan.
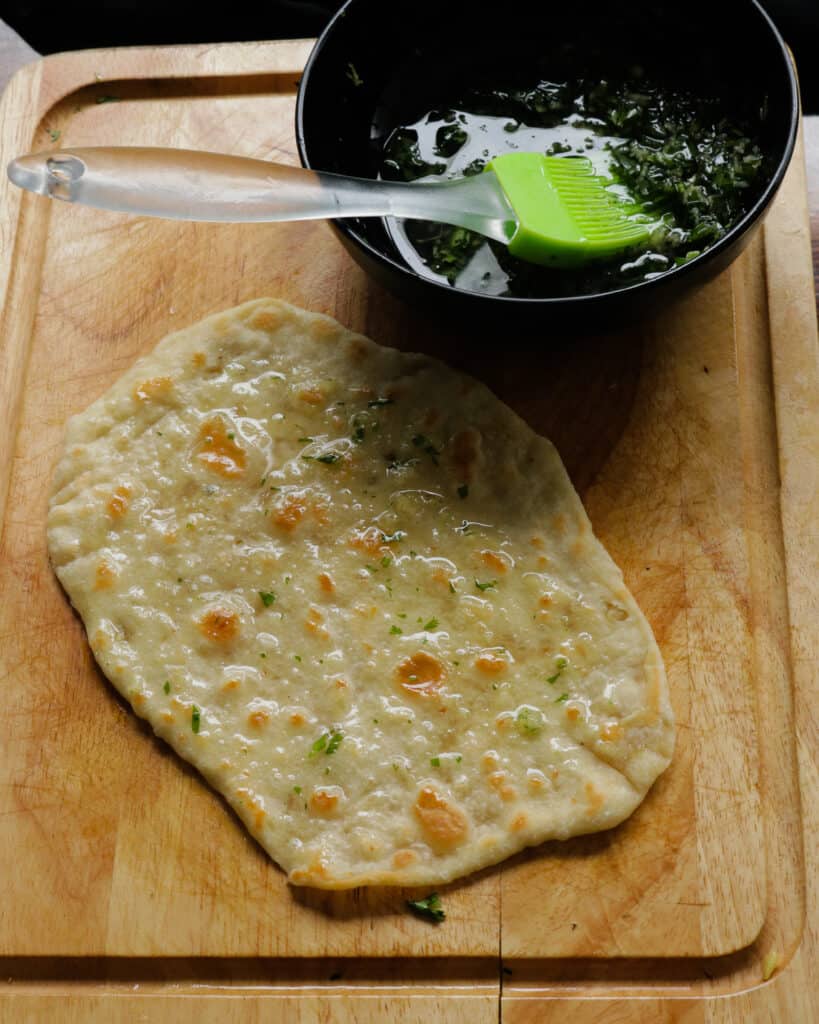
Fire up your stove and maintain low-medium heat.
Use a tong to hold up the naan over the open flame and rotate until a little charring occurs in the form of dark spots.
Avoid holding the garlic naan over a long period as you can easily burn it.
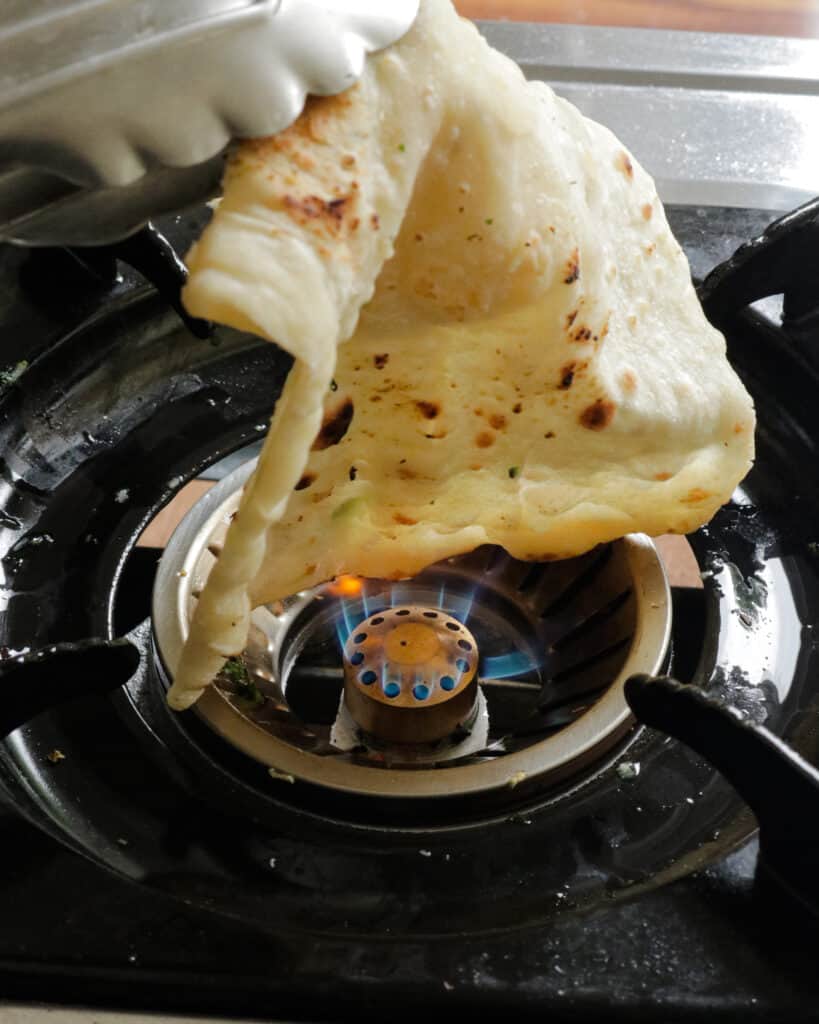
You can also do this by placing the naan over a very low fire to char the garlic naan, not more than 10 seconds on each side.
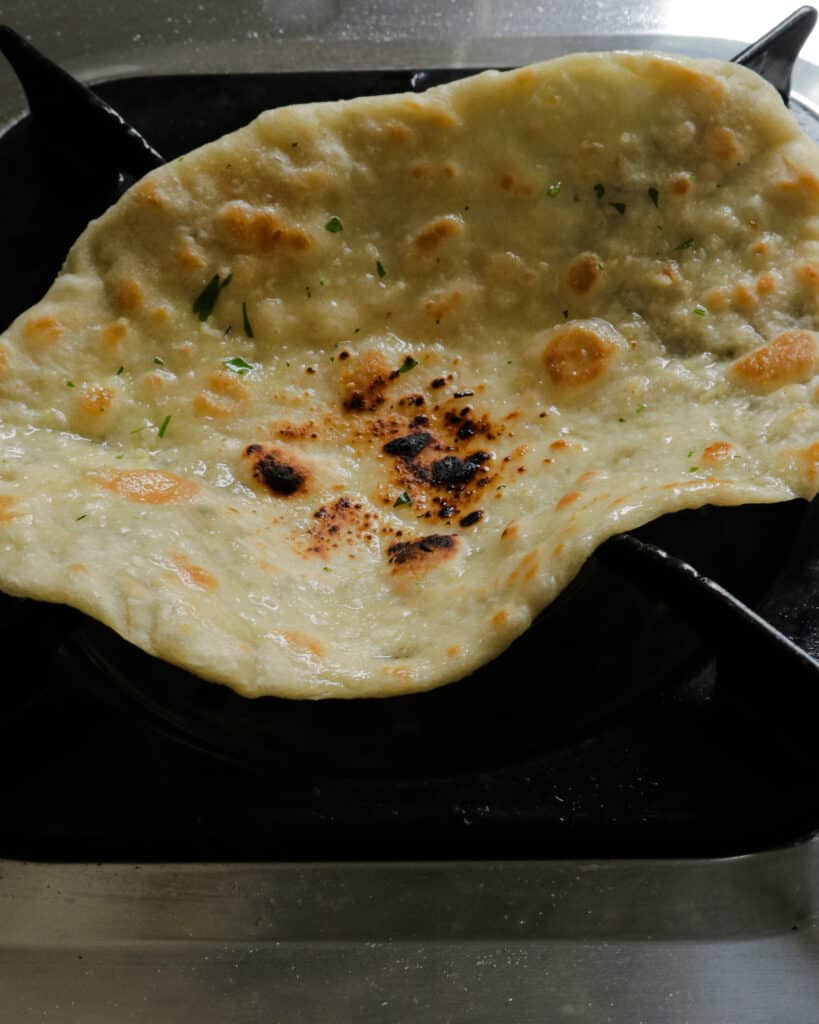
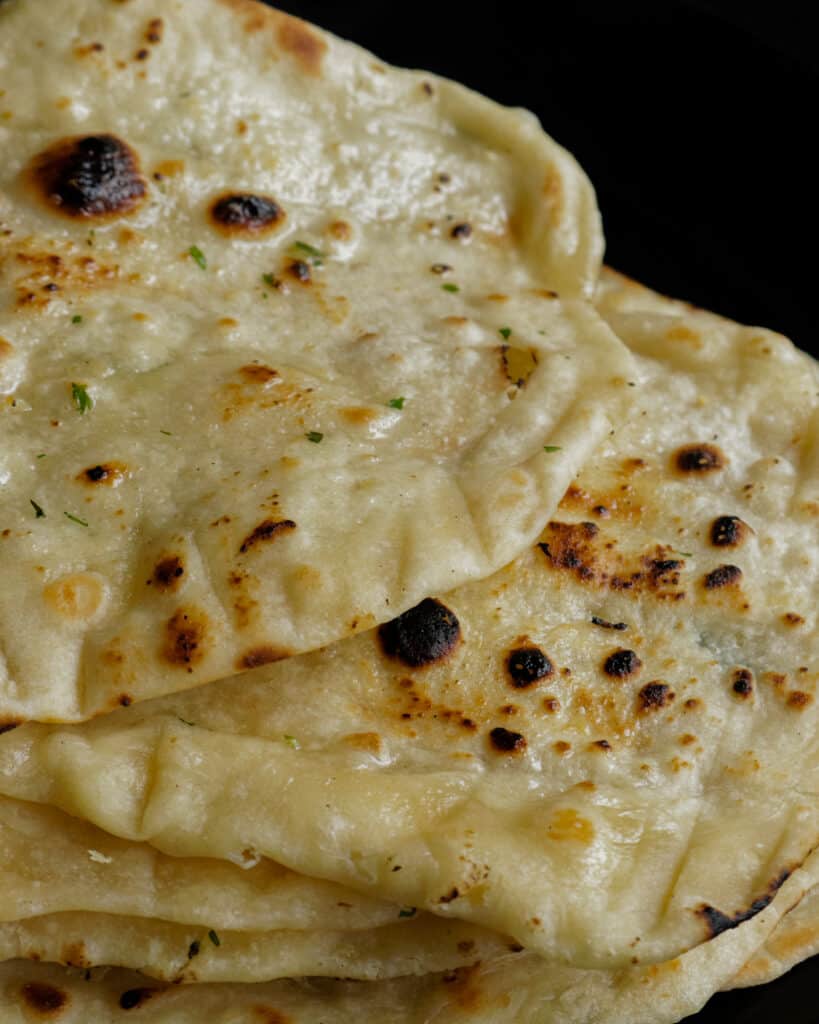
Serve the no-yeast garlic naan with your favourite Indian curries.
JOIN ME ON ISLANDSMILE YOUTUBE CHANNEL
VISIT THE SEAFOOD BLOG.
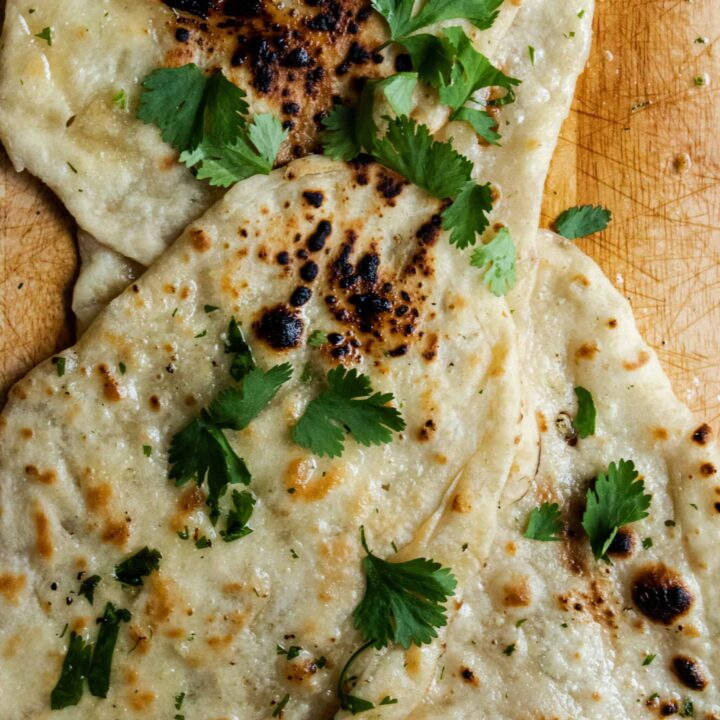
Garlic Naan recipe without yeast.
Naan bread needs no introduction and this easy garlic naan recipe made without yeast is going to be your favorite go-to Indian bread to make for your curries.
Buttery and full of garlic flavor, these homemade garlic naan goes well with dhal Makani, Chettinad chicken, dal tadka, butter chicken, keema curry are some of the best Indian curries you can pair it with.
Ingredients
- Ingredients mentioned below use standard measuring cups and spoons.
- For garlic butter
- 4 tablespoons of butter
- 1 teaspoon of minced garlic
- 1/4 cup of coriander chopped fine
- For naan bread
- 2 cups of flour
- 1 teaspoon baking powder
- 1/4 teaspoon baking soda
- 1/4 teaspoon salt
- 1/4 plain yogurt
- 1 tablespoon of finely minced ginger
- 2 tablespoon of oil
- Water as needed
Instructions
Make the garlic butter first.
This will allow the minced garlic to infuse the butter oil. Place butter(4 tbsp)in a microwavable bowl and heat for 10-20 seconds until melted. Add the minced garlic(1 tbsp), coriander(1/4 cup)stir. cover and set aside.
How to make the no yeast garlic naan dough
Sift flour, baking powder(1 tsp), baking soda(1/4 tsp)and salt(1/4 tsp) into a large bowl.
Add yogurt(1/4 cup), oil(2 tablespoons) and minced ginger(1 tablespoon) to the flour mix.
Gently start mixing the dough.
Add water as needed(in 1/4 cups, you might have to add 2-3 cups)to reach the correct consistency to form a soft dough.
When you’ve formed a roughly smooth dough, pour a tablespoon of oil.
Transfer to an oiled bowl.
Cover with a damp cloth and keep the garlic naan dough in a warm place. an area where the sun hits or a warm oven would do as well.
Let the naan dough rest for 2 hours.
After 2 hours, you will notice a slight rise in the dough which indicates that it is ready.
Place dough on a flat surface and separate them into required portions, I divided the garlic naan dough into 9.
Then gently roll them out into smaller balls. use a light hand to roll out the balls.
Mine has a few pieces of coriander in them as I used the same chopping board to cut the coriander.
Let dough balls rest for 10 minutes.
How to stretch and make the no yeast garlic naan.
Place a dough ball on a flat surface.
Press down with your palm.
Use your fingers to press down and flatten the dough into a rough oval shape.
Dab a little oil and stretch the dough a little more from the edges.
Once you have your first garlic naan ready, Place your Tawa or flat frying pan over low medium fire and let it heat.
Brush a little oil on the naan.
And immediately transfer onto the heated Tawa.
Cook until small bubbles appear followed by some crispy brown patches on the garlic naan.
This would take about 3-4 minutes on each side, once there is a little browning flip the naan over.
Cook both sides, brush oil on the naan when needed.
As the naan cooks over the Tawa, use your spatula to press down or even fold them to keep soft and pliable.
Repeat the process until you’ve cooked and made all the garlic naans.
The final process of making the no yeast garlic naan is adding a little authentic flavor and look by slightly charring it over an open flame. Here’s how you do it.
Simply brush the garlic-coriander butter on the cooked naan.
Fire up your stove and maintain low-medium heat.
Use a tong to hold up the naan over the open flame and rotate until a little charring occurs in the form of dark spots.
Avoid holding the garlic naan over a long period of time as you can easily burn it.
Nutrition Information:
Yield: 9 Serving Size: 1Amount Per Serving: Calories: 225Total Fat: 11gSaturated Fat: 4gTrans Fat: 0gUnsaturated Fat: 6gCholesterol: 17mgSodium: 255mgCarbohydrates: 28gFiber: 2gSugar: 1gProtein: 4g
Each recipe on this blog has been written with great care and love to the best of my ability with you in mind.
It’s free and on the blog, for you to try anytime.
All I ask is that you do not save it on any apps, recipe boxes, or online groups which will affect me as a food blogger and the growth of this blog.
I would appreciate it if you only shared the link rather than the full recipe.
All images and text on this website are protected by copyright.